Best Practices for Cleanroom Mopping
Posted by SOS Cleanroom on 3rd Jan 2017
When you are mopping a kitchen floor, it’s pretty common to mop the floor until you have finished going over the entire surface, no matter how black the water gets. However, this method won’t work in a cleanroom, because once the water gets visibly dirty, you will just be spreading contaminants back onto the floor if you keep using that water. However, making multiple trips to empty a mop bucket when the solution is barely dirty is inefficient, too. So how do the best professionals mop a cleanroom for maximum cleanliness, efficiency, and removal of contaminants? Follow this handy guide for our suggested best practices in cleanroom mopping.
Start with the purest water available.
Make sure that you begin with distilled or deionized water. Having pure water to start with will make a difference in how quickly the mop liquid will accumulate too many contaminants to be used.
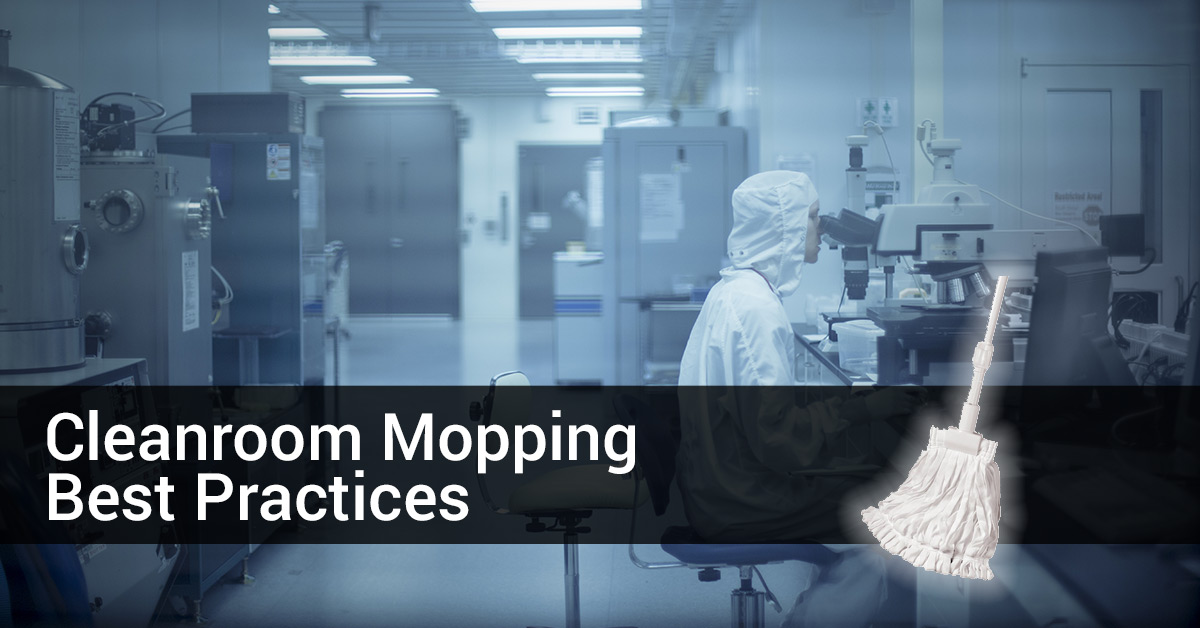
Use a cleanroom-safe mopping system.
Normal string mops are a no-no in a cleanroom setting because of how many particles and fibers they shed. A mop with tubular polyester strips, such as the Texwipe TX7106 BetaMop, is ideal for mopping floors, and a spongehead-type mop, like the Texwipe TX7108 AlphaMop, is best for cleaning walls and ceilings.
Use a 3-bucket setup for mopping.
Using a single bucket mopping concept is a bad idea precisely because constantly introducing contaminants into the same water just means that you’ll be moving them around the room rather than removing them. This doesn’t give you a good return on your effort. The 3-bucket setup for mopping makes cleanroom mopping a breeze, allows you to get farther through the room without emptying your buckets, and results in a cleaner floor. Follow these steps to correctly use the 3-bucket setup.
- Set up your three buckets.
Bucket 1: Mopping solution
Bucket 2: Clean water
Bucket 3: The wringer, where wastewater will be deposited. - Insert the clean mop into bucket 1 (the detergent), and mop a portion of the floor using overlapping strokes.
- Insert the dirty mop head into the wringer and squeeze out all excess liquid.
- Insert the mop into bucket 2 (the clean water) to rinse additional contaminants.
- Return the mop to the wringer to squeeze out all excess liquid.
- Dip the mop into bucket 1 (the detergent) and repeat steps 2-5 until you are finished mopping.
Define how large of an area you can get clean before changing to a new mop head and bucket.
It’s a good idea to establish a procedure for mopping and train staff to follow the procedure. Part of this procedure should be to define the surface area that can be effectively mopped on one mop setup. The way you can do this is to sample the floor at different distances from where mopping began, and measure where the contaminant level exceeds the threshold of cleanliness that you have established for your cleanroom certification. Once you have defined the approximate surface area of mopping that can be done at one time, it will remove the guesswork from your staff in future mop jobs.
Get all your cleanroom mops, buckets, and refills from SOS Cleanroom, your reliable source for all the cleanroom supplies you count on to do your daily work. Place your order today!